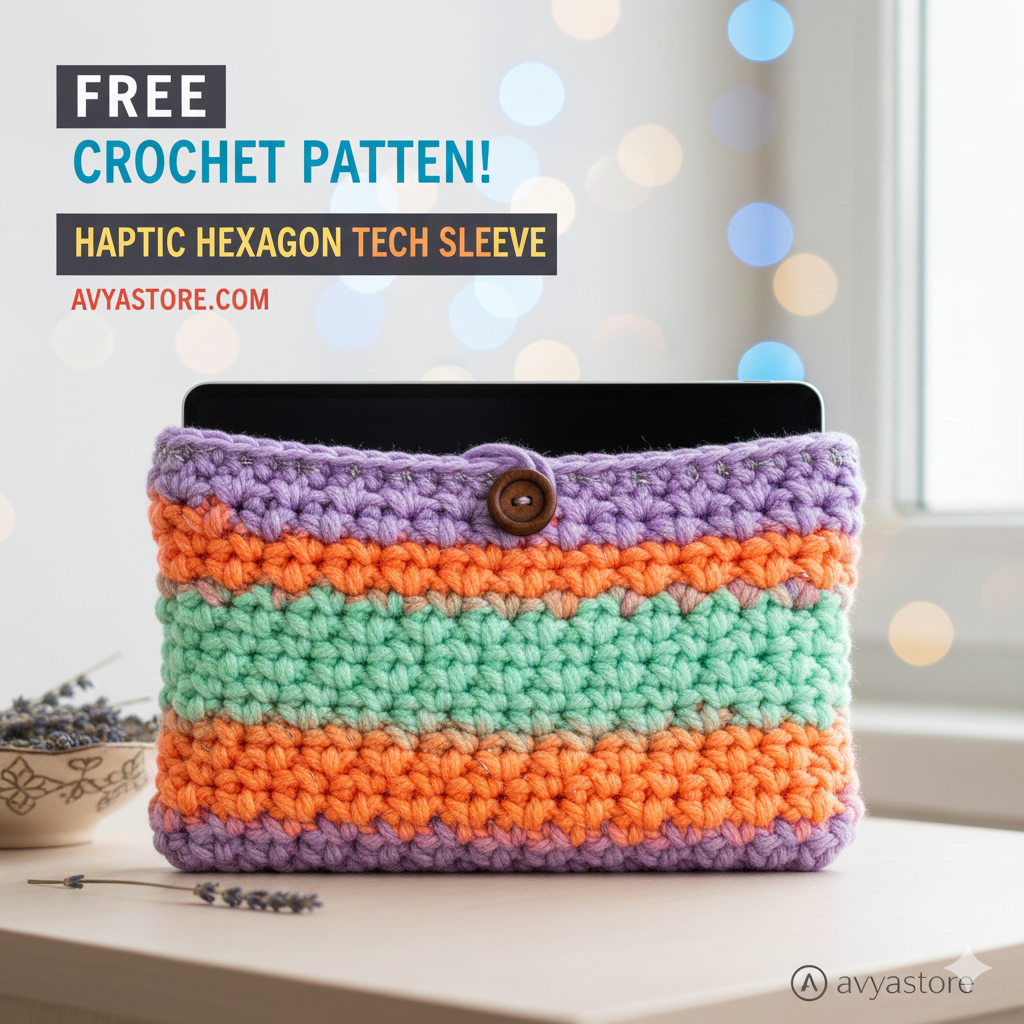
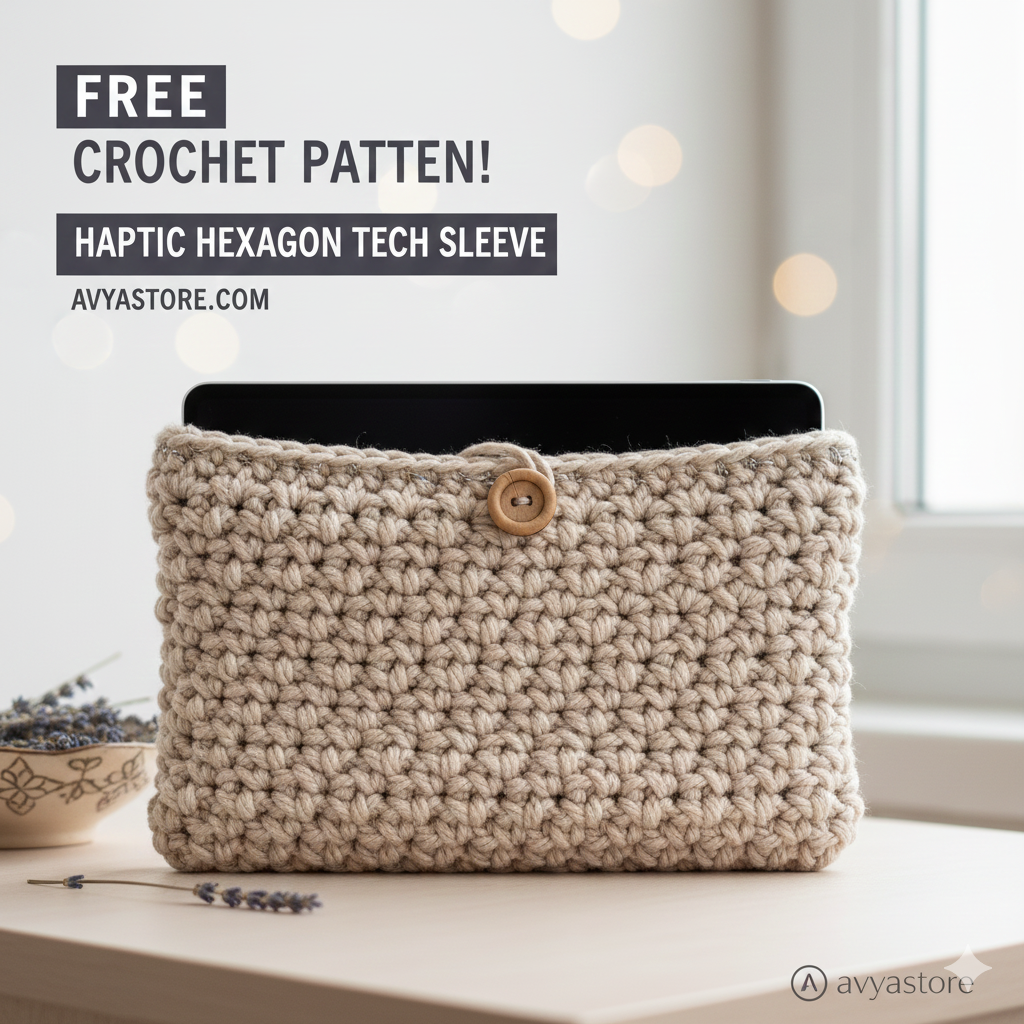
In our latest trend report, we talked about Tech-Couture. Today, I’m giving you a free, beginner-friendly pattern to turn that trend into reality. This sleeve is designed to fit a standard 11-inch tablet (like an iPad Pro or Samsung Galaxy Tab), but it is easily customizable for any device.
Materials You’ll Need:
- Yarn: 200g of Eco-friendly Cotton or Bamboo Blend (Worsted weight/Category 4). I recommend a sturdy cotton to prevent stretching.
- Hook: 4.5mm (G+) Crochet Hook.
- Notions: Measuring tape, yarn needle, and 2 medium-sized wooden buttons.
- Skill Level: Advanced Beginner (You’ll need to know the Puff Stitch).
The Golden Rule: The Custom Fit
Before we start, measure your tablet’s Width (W) and Length (L).
- Your foundation chain should be slightly longer than the Width of your tablet (add about 1cm for “ease”).
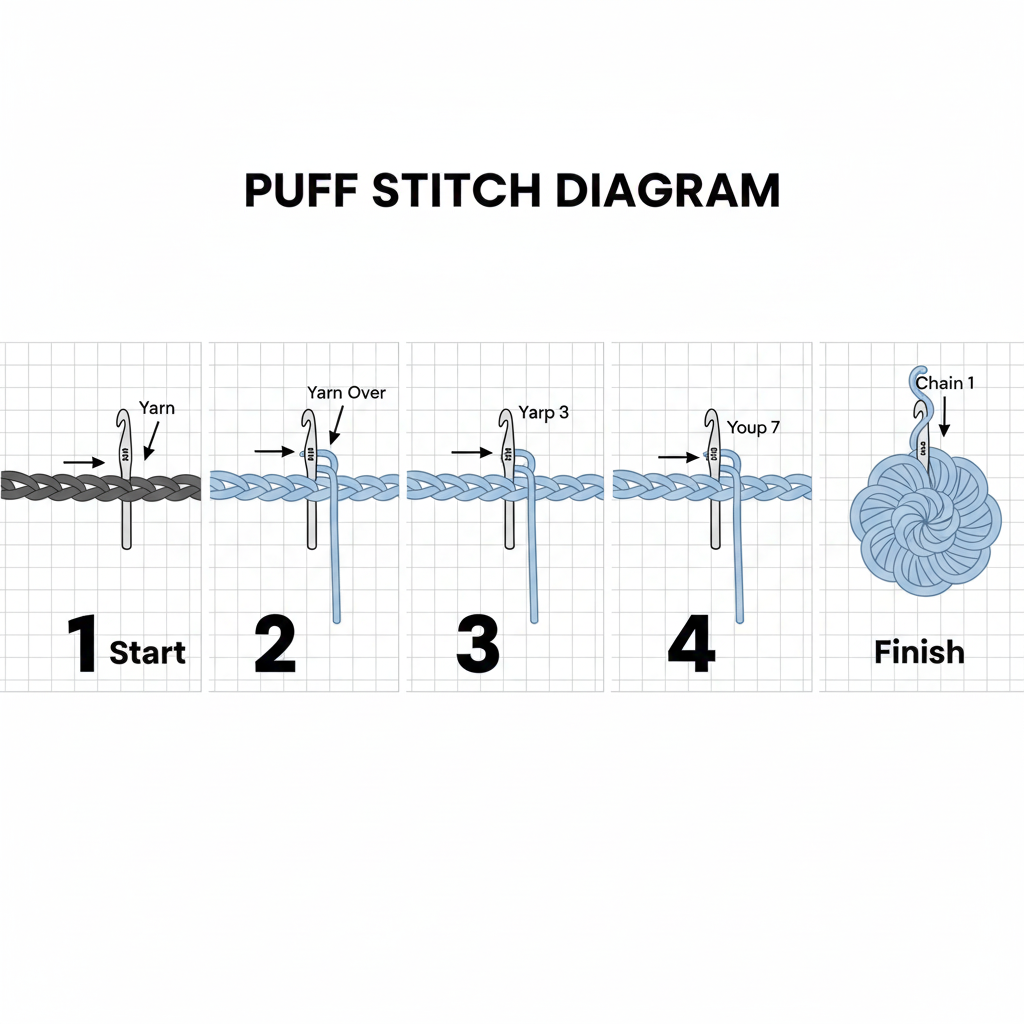
Special Stitch: The Puff Stitch ($PS$)
- Yarn over (YO), insert hook into stitch, YO and pull up a loop (3 loops on hook).
- YO, insert hook into same stitch, YO and pull up a loop (5 loops on hook).
- YO, insert hook into same stitch, YO and pull up a loop (7 loops on hook).
- YO and pull through all 7 loops.
- Chain 1 to close the puff.
Step-by-Step Instructions
Phase 1: The Foundation Base
We will work in the round to create a seamless pocket.
- Foundation: Chain a length that matches your tablet’s Width + 1cm (e.g., 40+1 chains).
- Round 1: Single Crochet (SC) in the second chain from the hook and in each chain across. When you reach the last chain, work 3 SCs into it to turn the corner. Continue SC down the underside of your foundation chain. Work 2 SCs in the final stitch. Slip stitch (sl st) to join.
- Round 2: CH 1. SC in each stitch around. Sl st to join.
- Result: You now have a flat “boat” shape that forms the bottom of your sleeve.
Phase 2: The Haptic Texture (Body)
Now we build the 3D walls.
- Round 3: CH 2 (counts as first space). Skip 1 stitch, work 1 $PS$ in the next stitch, CH 1. Repeat from * to * around. Sl st to the top of the first puff.
- Round 4: Sl st into the CH-1 space between puffs. CH 2. Work 1 $PS$ in the CH-1 space, CH 1. Repeat around.
- Note: This creates a “staggered” look where the puffs sit between the puffs of the row below.
- Rounds 5 – Finish: Repeat Round 4 until the sleeve covers the entire length of your tablet.
Phase 3: The Top Border & Button Loops
- Next Round: CH 1. SC in every puff and every CH-1 space around.
- Next Round: SC in each stitch around.
- Creating the Loops: * Find the center-back of your sleeve.
- SC until you are 1/4 of the way across the back. CH 15 (or enough to fit over your button). SC back into the same stitch.
- SC until you are 3/4 of the way across the back. CH 15, SC back into same stitch.
- Finish the round with SC and fasten off.
Phase 4: Finishing Touches
- Weave in Ends: Use your yarn needle to hide all yarn tails.
- Attach Buttons: Slide your tablet into the sleeve. Mark where the loops naturally fall on the front. Sew your wooden buttons firmly onto the front body of the sleeve.
Avyastore Pro-Tips for a 2026 Look:
- The Contrast Stitch: Use a metallic thread held together with your cotton yarn for the final border to give it that “Cyber-Punk” glow.
- Lining (Optional): If you want extra protection, sew a simple rectangle of micro-fiber cloth or soft cotton and insert it inside the crochet sleeve.
- Aromatherapy: Tuck a small sachet of dried lavender into the bottom of the sleeve. The heat from your tablet will gently release the scent!


Be the first to comment