
I still remember my first granny square blanket. I made squares for weeks, joined them, and then realised the whole thing was big enough for a teddy bear but not a person. Nobody warned me about the math.
Working out the number of granny squares you need for a blanket takes about two minutes and one tiny formula. Do it before you buy yarn and you save yourself a lot of frogging, a lot of guessing and at least one dramatic sigh. Let me walk you through it the way I’d explain it over a cup of chai.
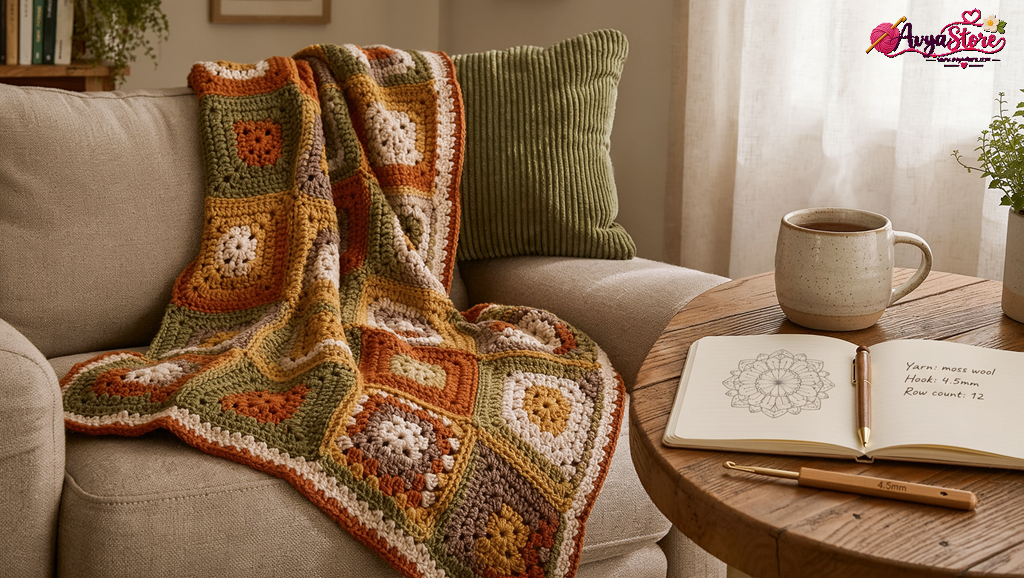
Start With the Blanket Size You Want
Before any math, decide what the blanket is for. A pram blanket and a bedspread need very different amounts of squares, so this one choice shapes everything.
Common blanket sizes to start from
Here are the rough finished sizes I keep in my head:
- Baby or pram blanket: about 30 x 36 inches
- Lap blanket: about 40 x 50 inches
- Throw for the sofa: about 50 x 60 inches
- Twin bed: about 66 x 90 inches
- Queen bed: about 90 x 90 inches
These aren’t rules. If you like a blanket that hangs well over the edge of the bed, add a few inches. If it’s only for your knees on a cold evening, go smaller.
The Simple Formula for the Number of Granny Squares You Need for a Blanket
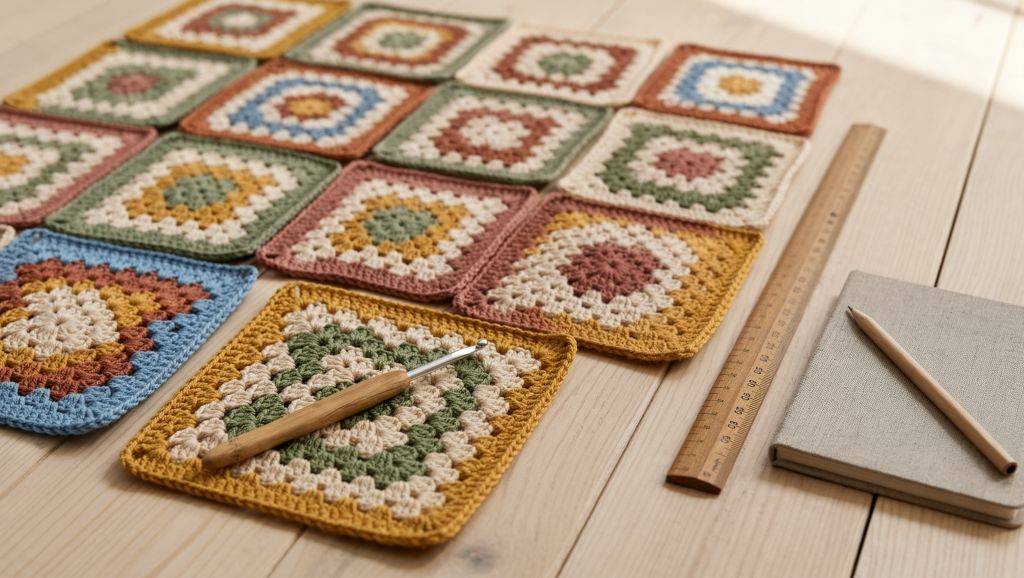
Here’s the whole trick. Divide the blanket width by your square size, then divide the blanket length by your square size. Multiply those two numbers together. That’s your total.
Let’s say you want a 48 x 60 inch throw and your finished squares measure 6 inches. Width: 48 ÷ 6 = 8 squares. Length: 60 ÷ 6 = 10 squares. Multiply 8 x 10 and you get 80 squares.
Now try a bigger square. With 8-inch squares, the same throw needs 6 across and 7.5 down. Half a square is awkward, so round up to 8 rows and let the blanket come out slightly longer. I always round up. A blanket that’s a touch bigger is a happy accident. A blanket that’s a touch small is just disappointing.
Measure Your Real Square, Not the Pattern’s Promise
This is where most people trip up. A pattern might say “makes a 6 inch square,” but your tension, your hook and your yarn can all change that. I tend to crochet loosely, so my squares usually come out bigger than the pattern says.
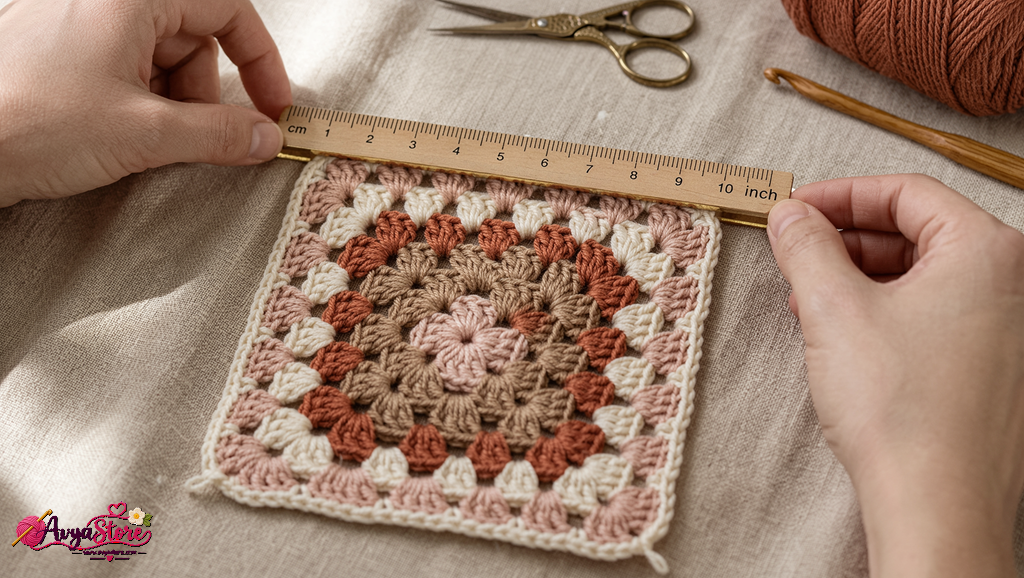
Make one finished square first. Wash or steam it the way you’ll care for the final blanket, let it dry, and then measure it with a ruler. Use that number in the formula. It feels like an extra step, but it’s the most honest one in the whole process.
If your square isn’t quite the size you wanted, you have two choices: change your hook size, or change the formula. Most days I just change the formula and carry on.
How Joining and Borders Change Your Count
Here’s something people forget until it’s too late. The way you join your squares, and the border you add, both change the final size.
Joining with a slip stitch or a flat braid join adds a tiny bit of width at every seam. Over ten squares, that can add up to an extra inch or two. Sewing squares together with a whip stitch adds almost nothing. Neither is wrong, but you should know which one you’re planning.
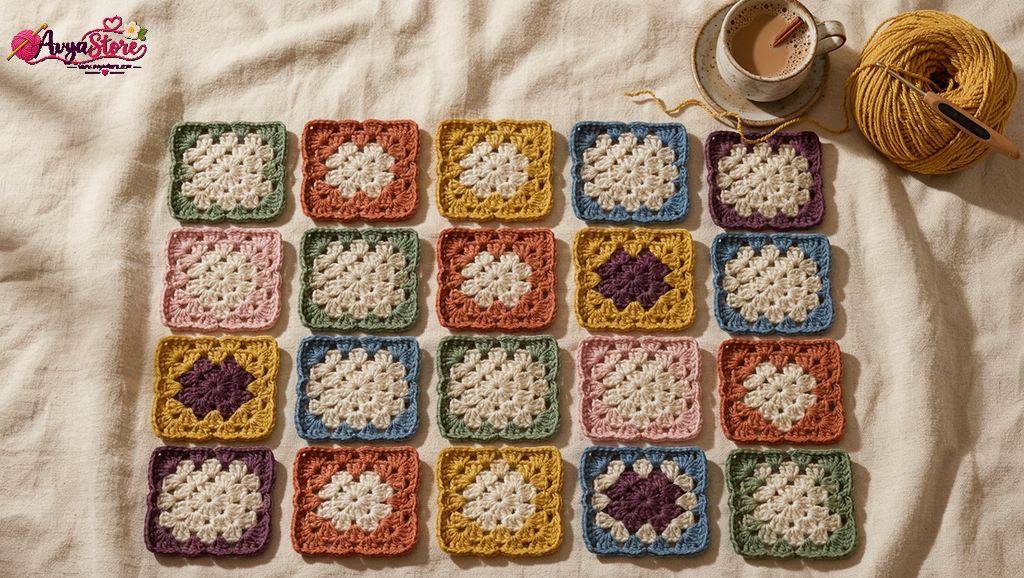
A border is the same story. A simple three-round border can add 3 to 4 inches on every side. So if you want a 48 x 60 inch throw with a 3 inch border, your squares only need to cover 42 x 54 inches. Run the formula again with those numbers: 7 squares across and 9 down at 6 inches each, which is 63 squares instead of 80. That’s 17 fewer squares to make, which is a lot of crocheting you get to skip.
Estimating Yarn Before You Commit
Once you know your total, work out your yarn. It’s the part I used to skip, and I paid for it with mismatched dye lots.
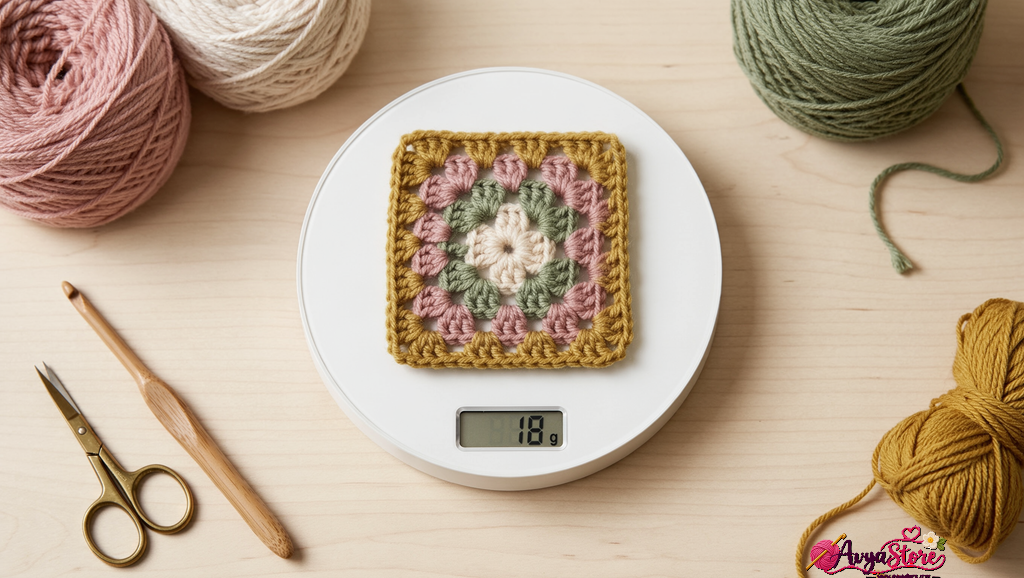
Weigh your finished test square on a kitchen scale. Say it’s 15 grams. Multiply by your total number of squares. For 63 squares, that’s 945 grams. Then add for the border, the joining yarn and the ends you’ll weave in. I usually add 15 to 20 percent. If your yarn comes in 100 gram balls, you’d want about 11 or 12 of them.
The weight of one square will differ with yarn and hook size, so treat my 15 grams as an example and weigh your own.
Little Tips From My Own Mistakes
A few things I wish somebody had told me early on:
- Make two or three spare squares. They’re handy if one turns out wonky or a colour looks off once it’s beside its neighbours.
- Lay all your squares on the floor before joining. Moving them around now is far easier than undoing a seam later.
- Keep a small note with your square size, hook, yarn and total count. Future you will be grateful.
- If you’re short on time, make fewer, larger squares. Fewer seams also means fewer ends to weave in.
Final Thoughts on the Number of Granny Squares You Need for a Blanket
Working out the number of granny squares you need for a blanket really is just three steps: pick your blanket size, measure your real square, and divide. Then adjust for your border and round up so you’re never caught short.
Do the math once, write it down, and go back to the fun part. Your hook, your yarn and your favourite colours are waiting. I’d love to hear how big your first blanket turns out, so tell me in the comments what you’re making.


Be the first to comment