
The first time I opened a crochet chart, I closed it again. All those little circles, crosses and T-shapes looked like a secret code, and I was sure I’d need a degree to crack it.
I didn’t. Once someone showed me the logic, I understood the whole thing in one afternoon. So let me show you how to read crochet charts the way I wish it had been explained to me, slowly and without the jargon.
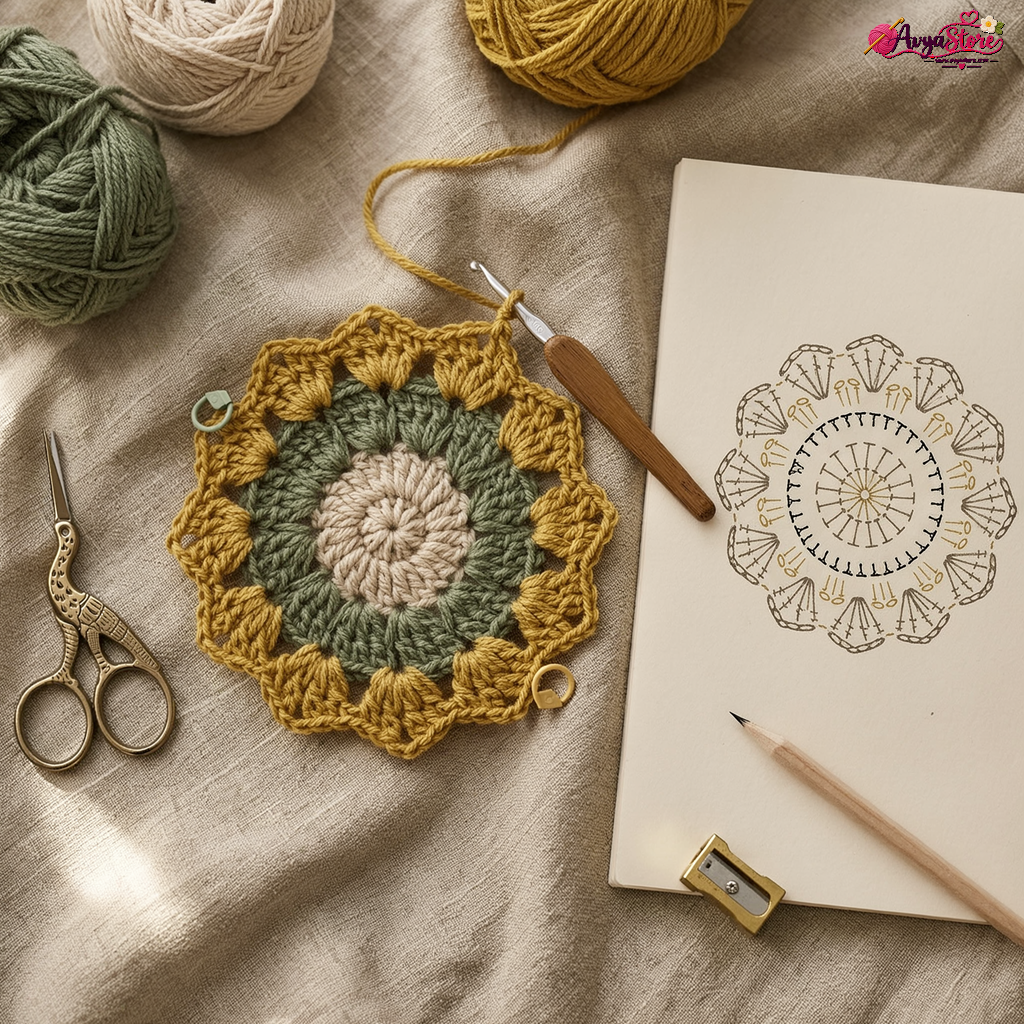
Why Crochet Charts Are Worth Learning
Written patterns are lovely, but they have a catch. They live in one language. A pattern written in US terms confuses anyone used to UK terms, and a translated pattern can get muddled along the way.
A chart skips all of that. A double crochet looks like a double crochet whether the designer lives in Mumbai, Manchester or Montreal. Charts also show you the shape of the work. You can see where the increases sit, how a motif grows, and where the lace gaps fall before you’ve made a single stitch.
I often say a chart is a map, while a written pattern is a list of directions. Both get you there, but the map shows you the whole town.
Start with the Symbol Key
Every chart comes with a key, usually near the bottom or beside the diagram. Read it first, always. Designers sometimes use slightly different symbols, and the key is the only thing that tells you what this chart means.
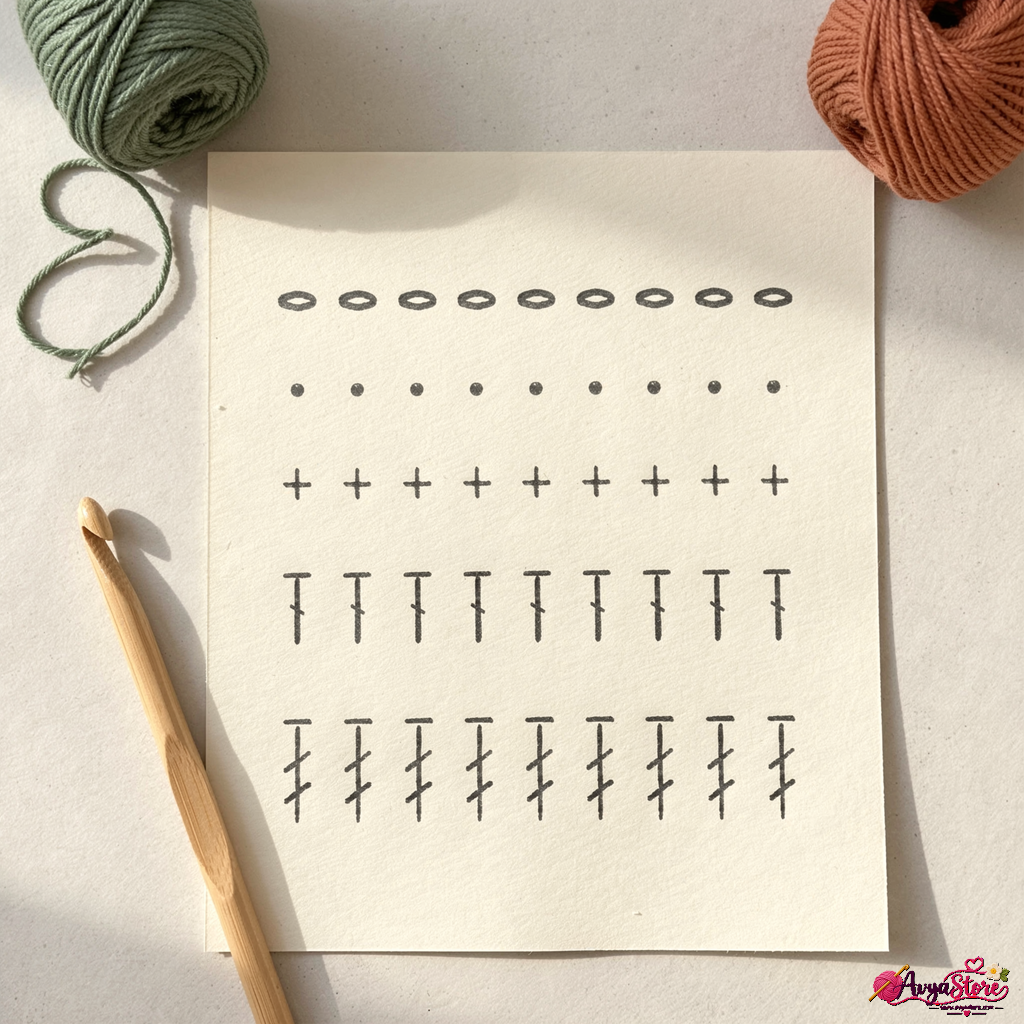
The symbols you’ll meet most often
- Oval or open circle: chain stitch
- Small dot or filled circle: slip stitch
- Small cross (+ or x): single crochet
- T-shape: half double crochet
- T with one bar across the stem: double crochet
- T with two bars: treble crochet
Here’s the trick that made it click for me. The more bars across the stem, the taller the stitch. Once you see that, you can work out most symbols without memorising a thing.
Stitches that share one base look like fans or little umbrellas. That’s a cluster or shell, and the number of legs tells you how many stitches to work into the same spot.
How to Read Crochet Charts Worked in Rows
Rows are charts for flat work, such as blankets, scarves and dishcloths. They look like a grid or a stack of horizontal lines, and you read them the same way you work them.
Start at the bottom, which is usually the foundation chain. Row one reads from right to left. Row two usually reads left to right. Then you keep going back and forth, just as you do with your hook.
Most charts also show the turning chain at the start of each row. It’s often drawn as a short string of ovals standing up at the edge. Pay attention to whether it counts as a stitch, because that one detail is behind a lot of wobbly edges.
If you’re left-handed, simply flip your reading direction. The chart is the same, but your starting side changes.
Reading Charts Worked in Rounds
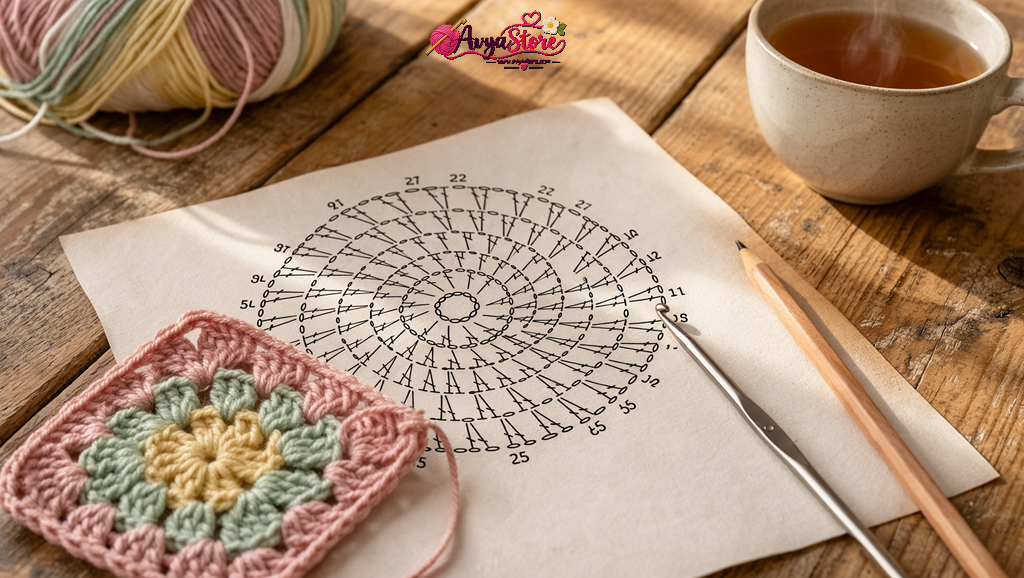
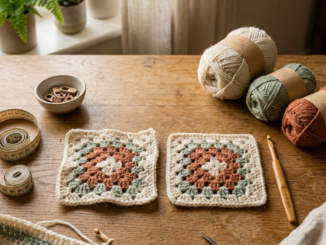
Round charts look completely different, and they’re my favourite. Think of a granny square or a doily. You’ll see a circle or square growing outward from a centre point.
You read these from the middle outward, and in most patterns, counter-clockwise for right-handers. Each ring of stitches is one round. The chart often marks where each round begins, with a small number or a slightly different coloured line.
Here’s something that helps. Look at how the stitches fan out as the rounds grow. Where the chart shows two or three stitches coming out of one base stitch, you’re increasing. That’s what keeps a circle flat instead of turning into a bowl.
And yes, the joining slip stitch at the end of each round is usually drawn too. Don’t skip it just because it’s tiny.
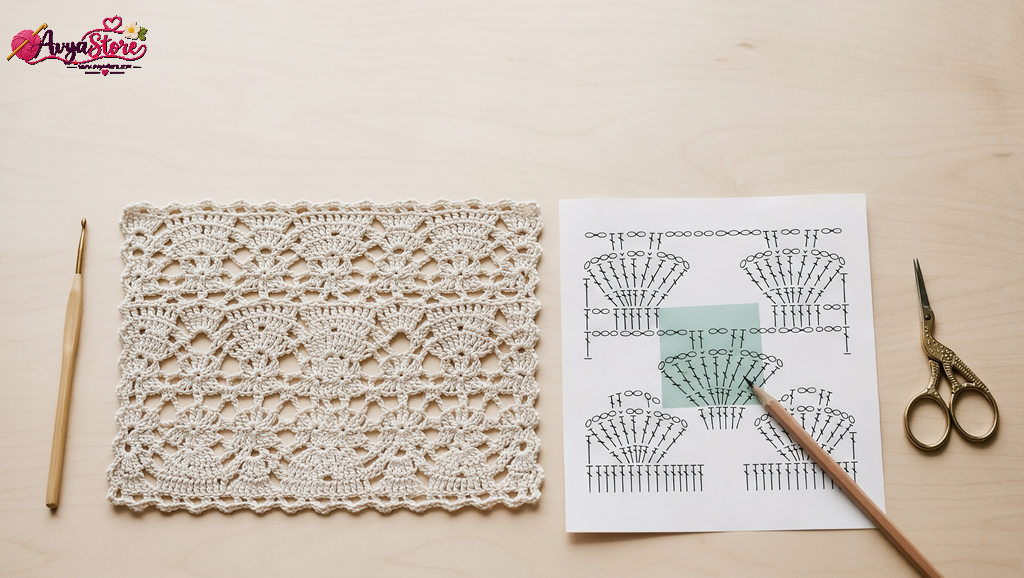
Understanding Repeats
Repeats are the part that makes people nervous, but they actually save you work.
Designers mark a repeat with brackets, a shaded box or a line with an arrow. Everything inside is worked again and again across the row or round. A chart showing one small motif can turn into forty stitches of lace, and you only need to read that small part once.
Try this the next time you see a repeat:
- Find the start and end of the bracket.
- Work just those stitches and count them.
- Check how many times the repeat is worked across the row.
- Notice any “extra” stitches outside the brackets, because those are edge or finishing stitches.
Stitches outside the repeat are only worked once, at the beginning or end. They keep your edges neat and your motifs balanced.
A Simple Way to Practise
Don’t start with a shawl. Pick a small square or a tiny coaster chart and use scrap yarn in a light colour. A smooth cotton or acrylic is ideal because you can actually see your stitches.
Keep a pencil nearby and tick off each row or round as you finish it. Some people use a highlighter tape or a sticky note on the chart. I run a ruler under the row I’m working so my eyes don’t jump ahead.
If something looks wrong, count your stitches. Nine times out of ten the chart is right and a stitch got skipped two rows back. It happens to all of us, so please don’t feel bad.
Mistakes I See Most Often
- Skipping the key because “a double crochet is a double crochet.” Symbols vary.
- Reading every row left to right, even the return rows.
- Missing the turning chain, so the edges drift in or out.
- Ignoring the repeat count and ending up with too many motifs.
Your First Chart Is Easier Than It Looks
Learning how to read crochet charts is really just learning to spot a few shapes and follow a path. Read the key, find your starting point, follow the direction of the rows or rounds, and trust the repeats.
Give yourself one small project and a quiet hour. By the end of it, those mysterious little symbols will start to look like old friends. I promise they will.
Grab your hook, pick a chart you’ve been avoiding, and just try the first row. Then tell me how it went.


Be the first to comment